


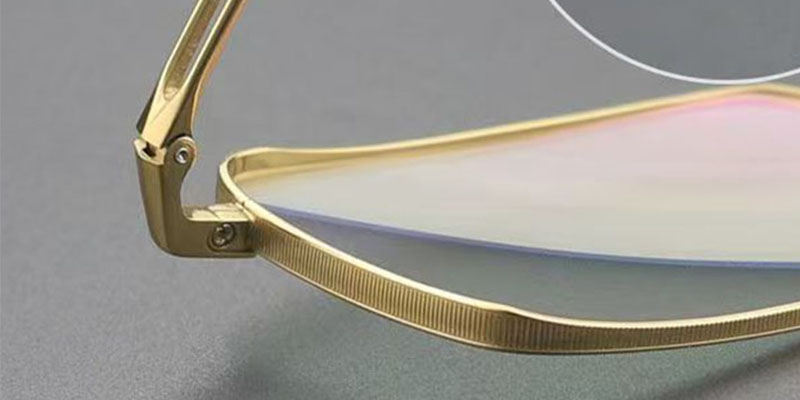

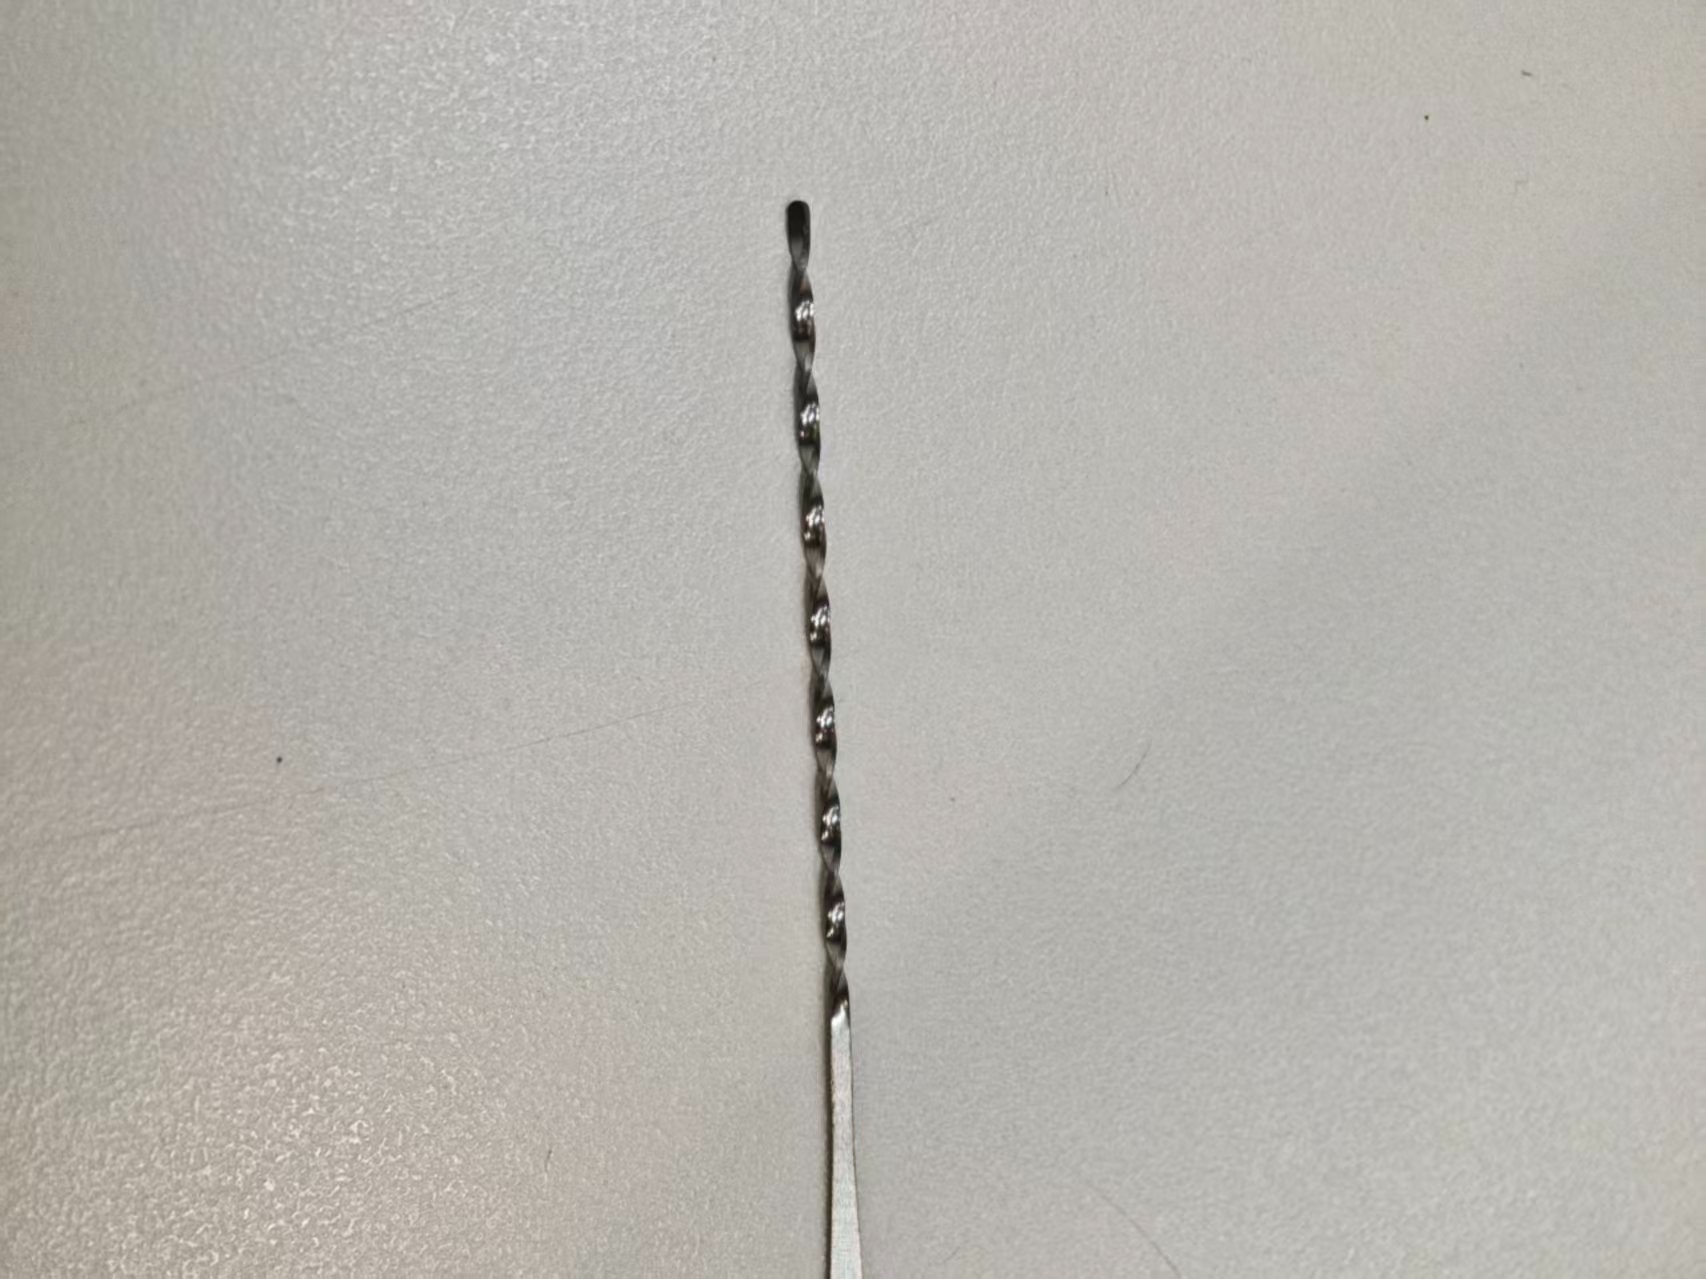
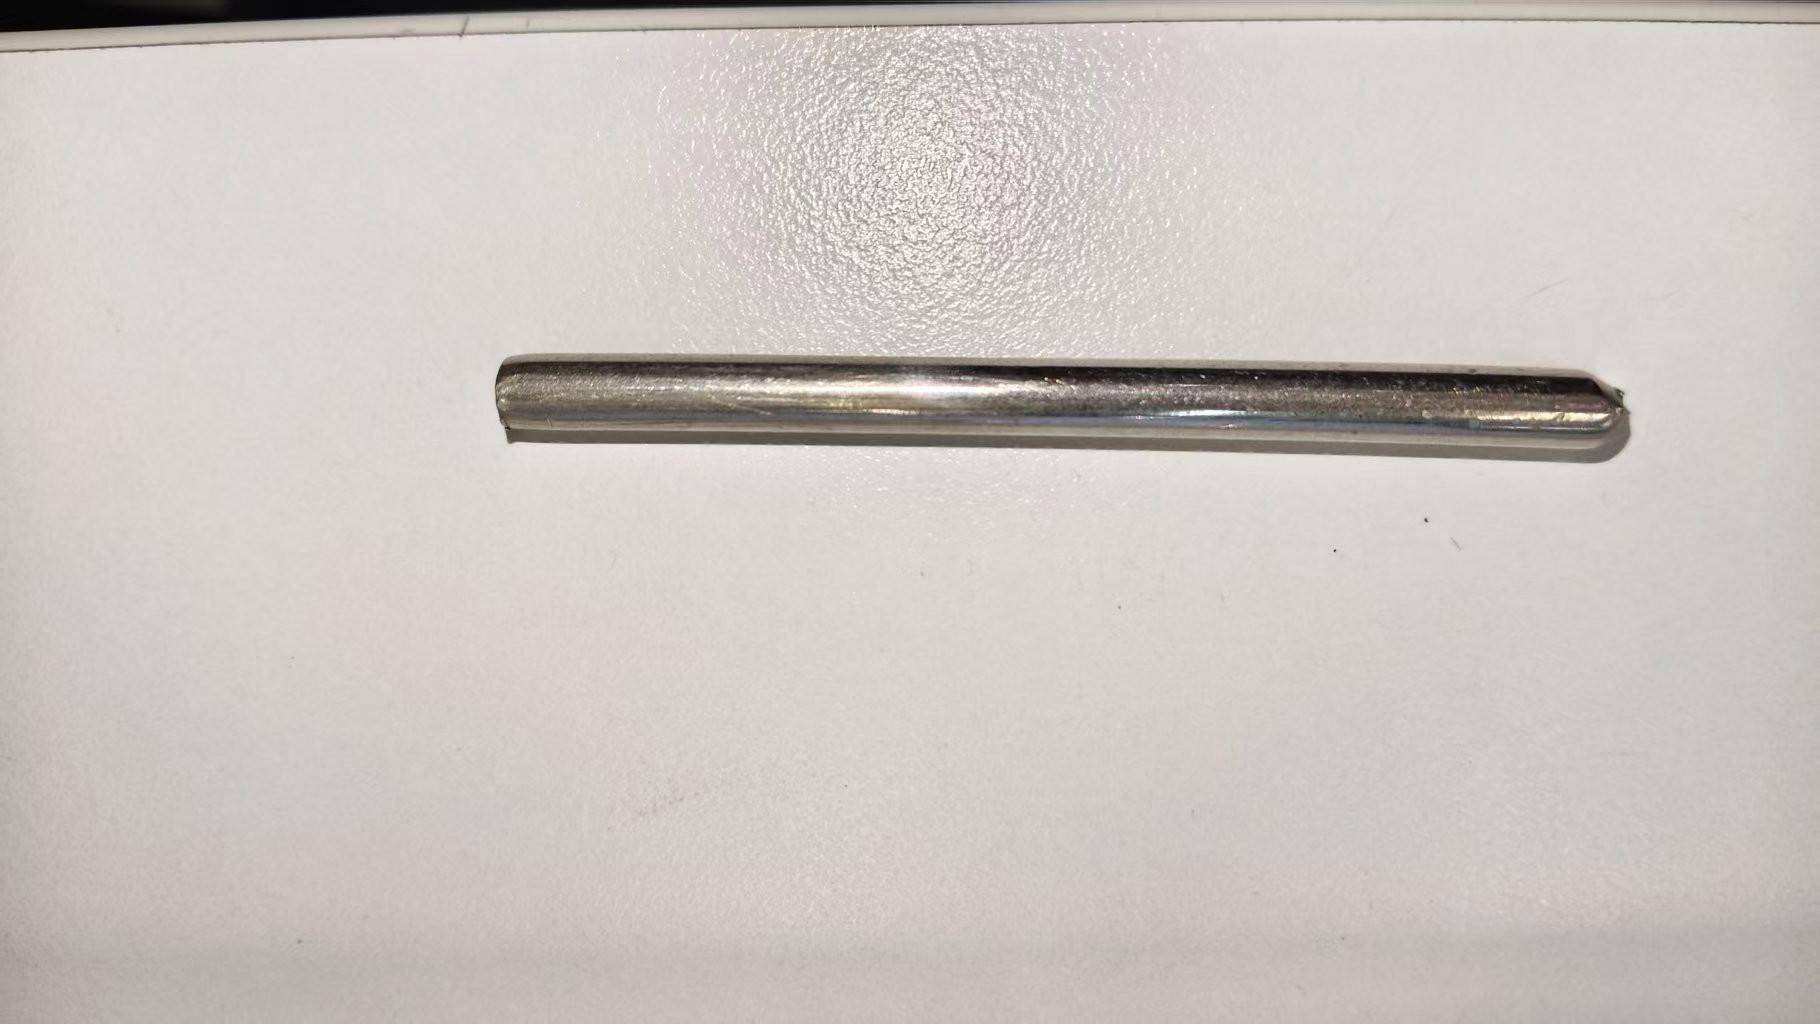
Lost-wax casting is well suited to metal parts with complex shapes, fine details, or both decorative and structural functions. In production, wax is first formed into wax patterns matching the shape of the target part. The patterns are then assembled into a wax tree, and plaster slurry is poured around it to form the casting mold. After dewaxing by burnout, a cavity remains inside the mold; molten metal is then poured in, and after cooling, a cast blank is obtained.
In actual production, final quality does not depend on pouring alone. Upfront data, rubber molds, wax injection parameters, and every inspection step all affect batch consistency. The following describes the complete process from "seed" production to finished-product inspection, based on workshop operations.
Process Flow
The complete process includes "seed" production and data comparison, rubber mold making, mold verification, wax injection, wax pattern trimming and inspection, wax tree assembly, plaster mold making, burnout dewaxing, melting and pouring, cleaning and dismantling, sprue cutting, barrel polishing, and finished-product inspection and sampling inspection.
"Seed" Production and Data Comparison
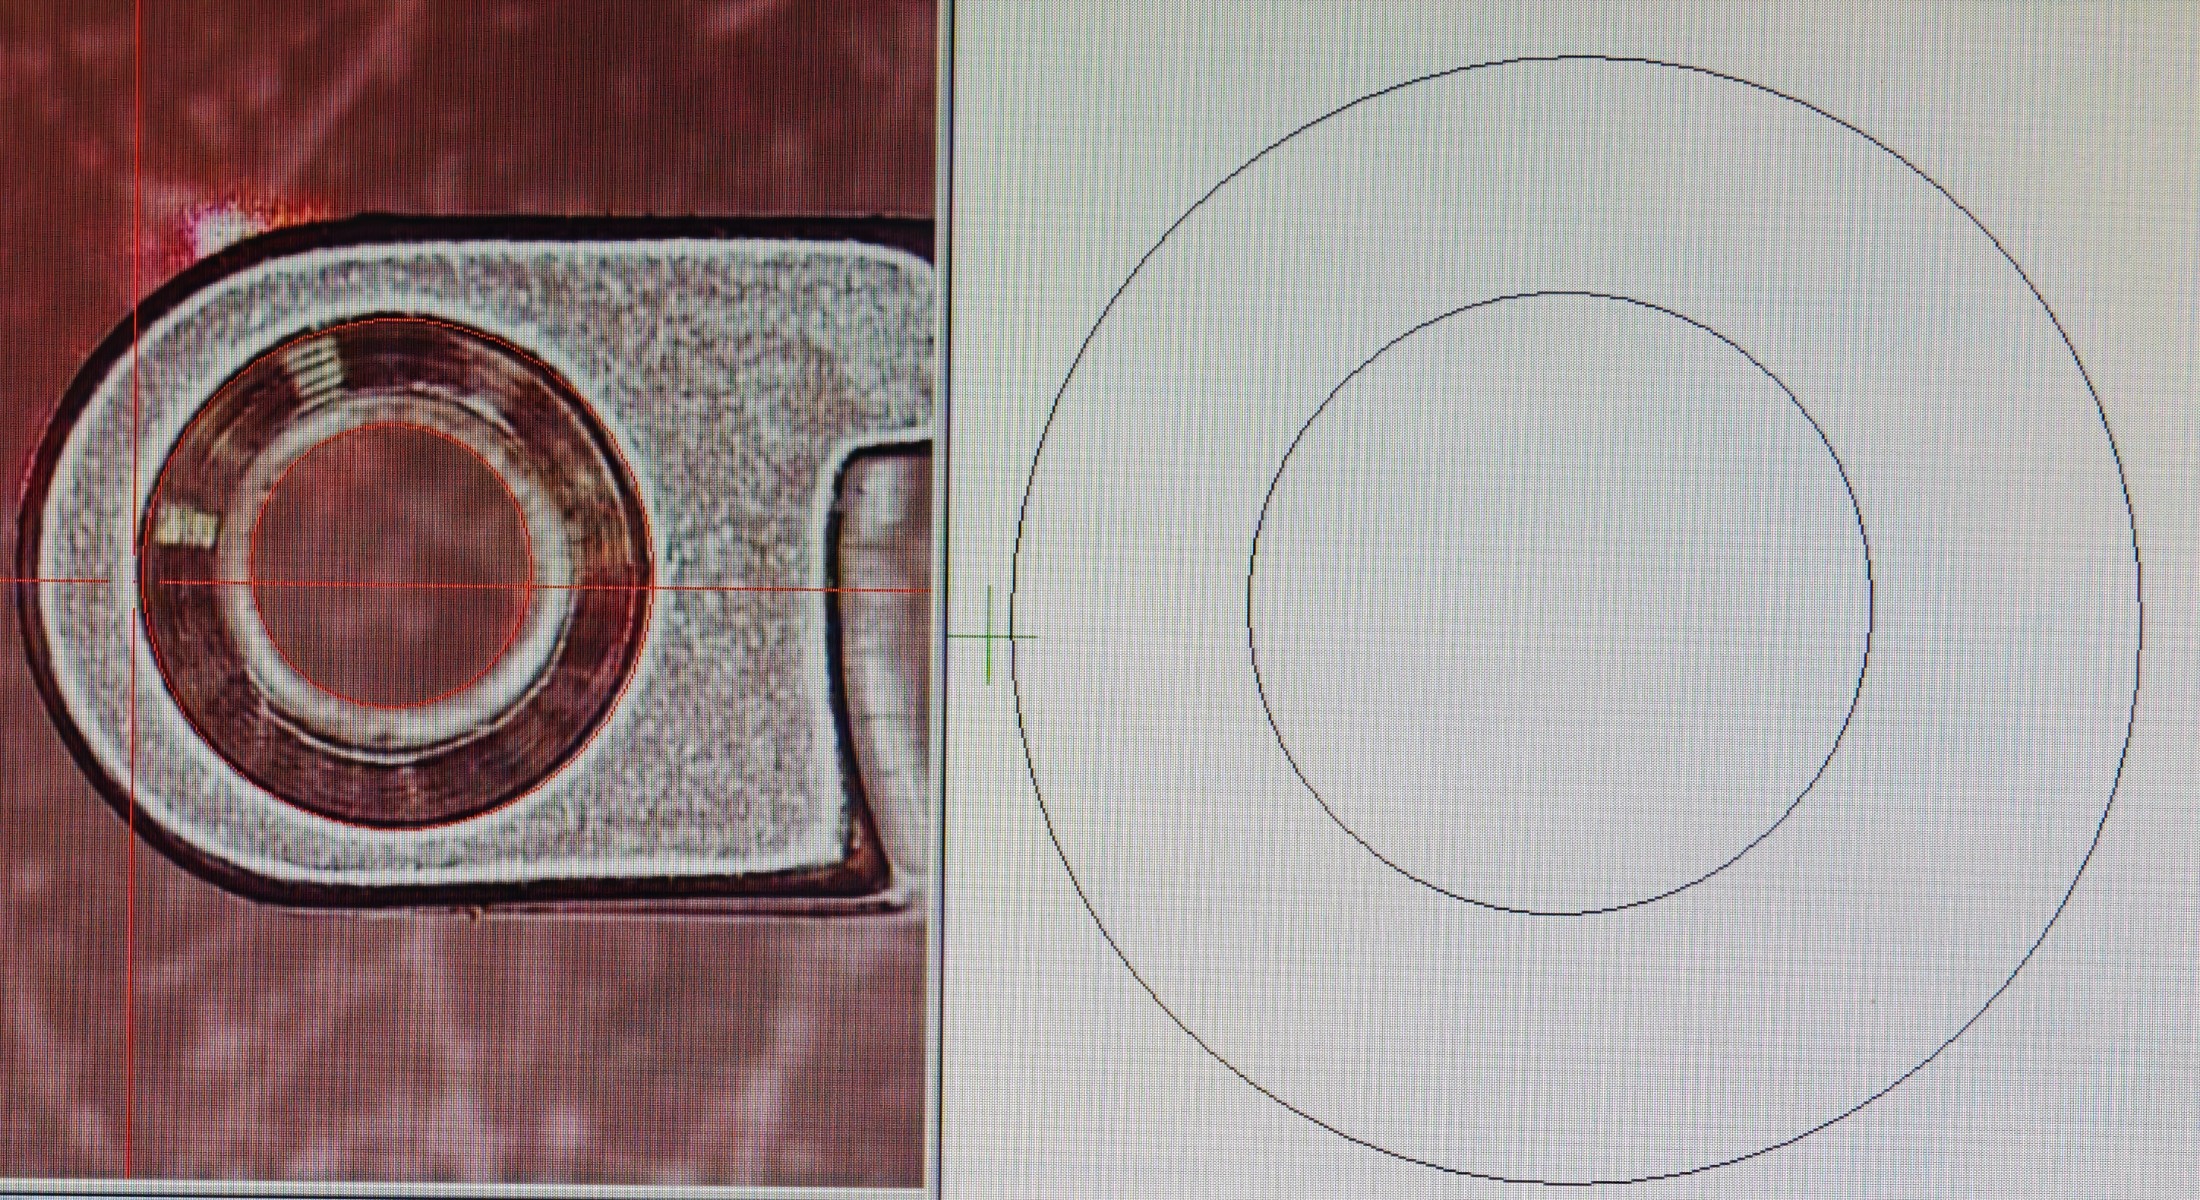
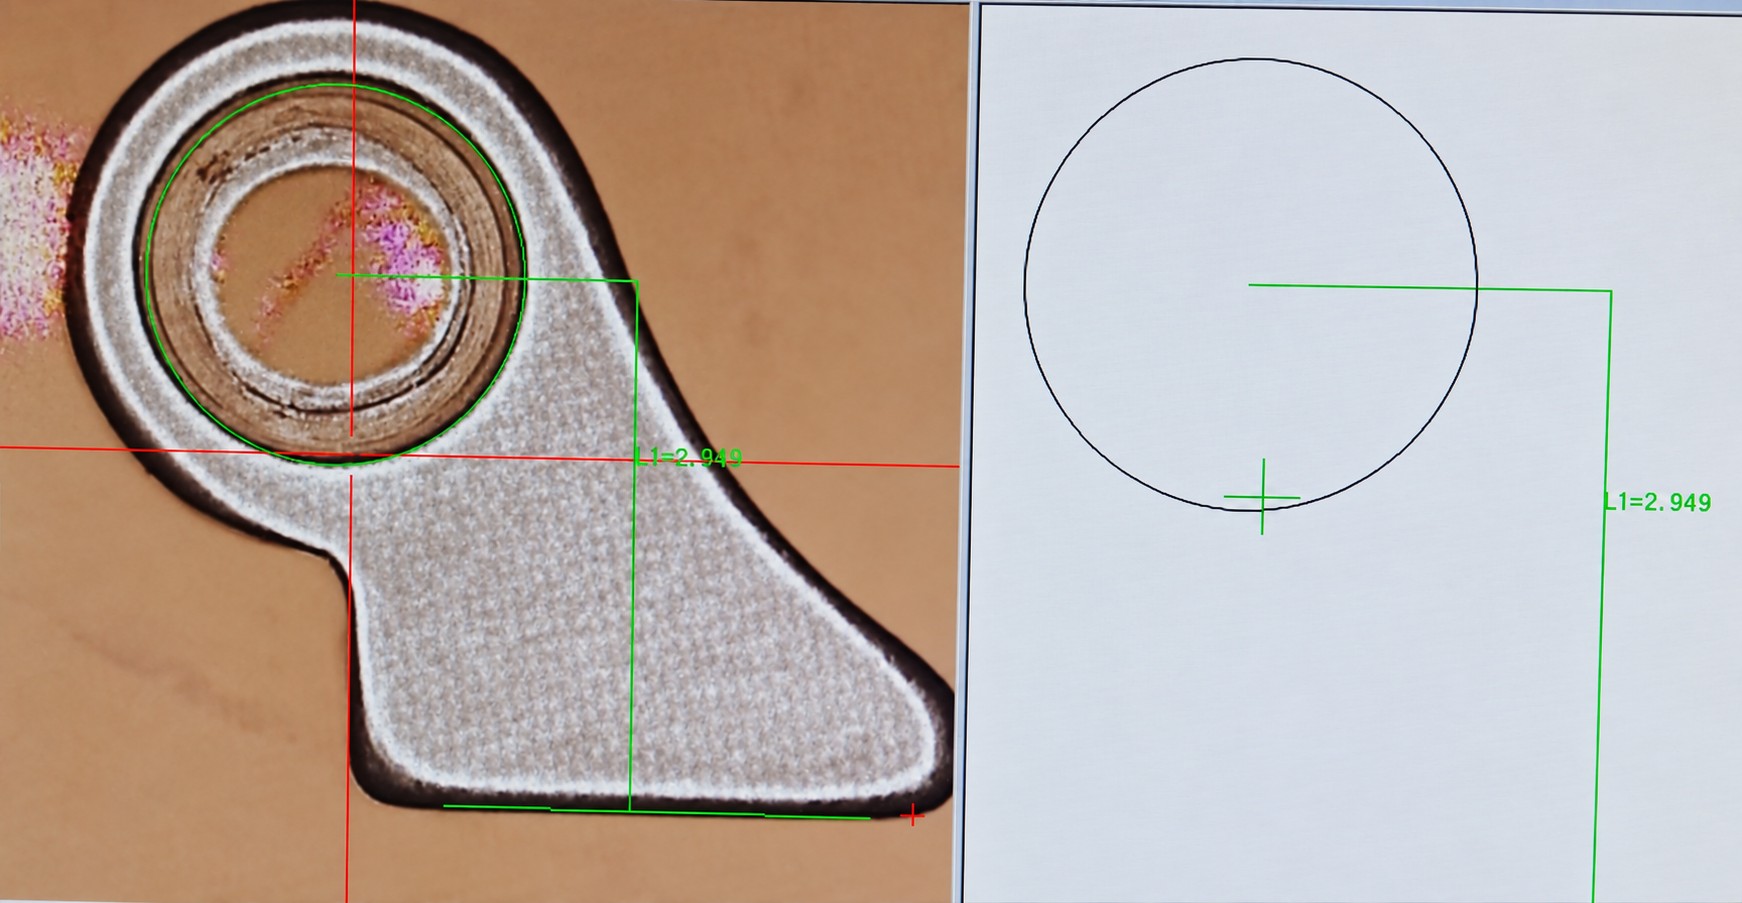
After receiving the customer's drawings and samples, the "seed" — that is, the master pattern — used for subsequent mold making is produced first. During production, key dimensions must be compared item by item with the customer's drawings and samples, and reviewed by the testing center. Once a deviation occurs in the source data, the error will carry through to the mold, the wax patterns, and the production castings, and the further along it goes, the higher the rework cost.
Rubber Mold Making
After the "seed" is confirmed, it is handed to the mold maker to produce the rubber mold. Mold-making quality is closely related to the operator's experience; the parting line position, cuts, and part-removal method all affect the integrity of the wax patterns and subsequent operations. The workshop can assign mold makers according to output and scheduling to avoid over-reliance on a single person for a key process.
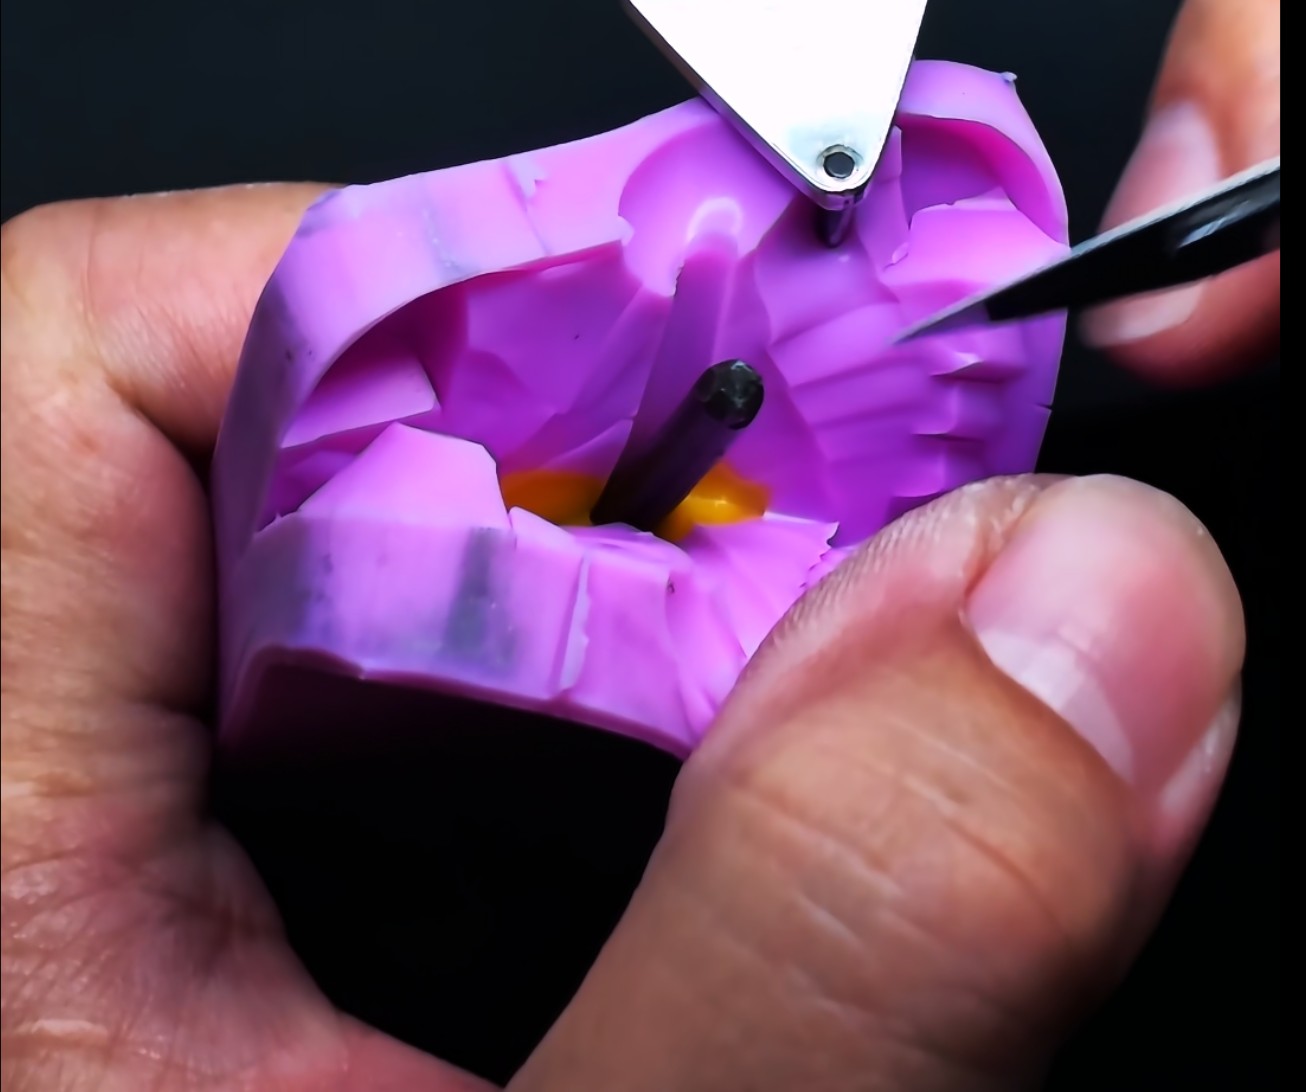
Figure 1 Rubber mold parting and part-removal operation
Mold Verification
Once the mold is completed, it cannot be put directly into mass production. Operators first use the new mold to trial-produce a small number of wax patterns, then measure key dimensions and compare them with the drawings and the "seed." Only when the trial results meet the requirements does the mold enter mass use. Whether a mold is qualified is ultimately determined by the trial-production data.
Wax Injection
Before wax injection, equipment parameters need to be adjusted according to the product structure. The wax injection time, pressure, and cooling time required differ from product to product and should be based on trial-production results. To reduce adhesion between the cooled wax pattern and the mold, operators apply a thin layer of wax powder to the mold according to the on-site process. The removed wax patterns are placed neatly on trays and transferred to the next process.
Wax Pattern Trimming and Inspection
After the wax patterns are removed, inspectors check for short shots, deformation, flash, and surface defects. Those that can be trimmed are handled on the spot; those that cannot be repaired are recorded separately and scheduled for rework. At the same time, residual wax powder on the surface of the wax patterns is removed to avoid affecting subsequent mold making.
Wax Tree Assembly
Wax patterns that pass inspection are fixed onto the wax rod as required to form a wax tree. The arrangement should facilitate pouring and subsequent dismantling, as well as make quantity checking convenient. For wax patterns that are densely arranged and prone to electrostatic adhesion, the workshop appropriately increases ambient humidity to reduce sticking and difficulty in handling.
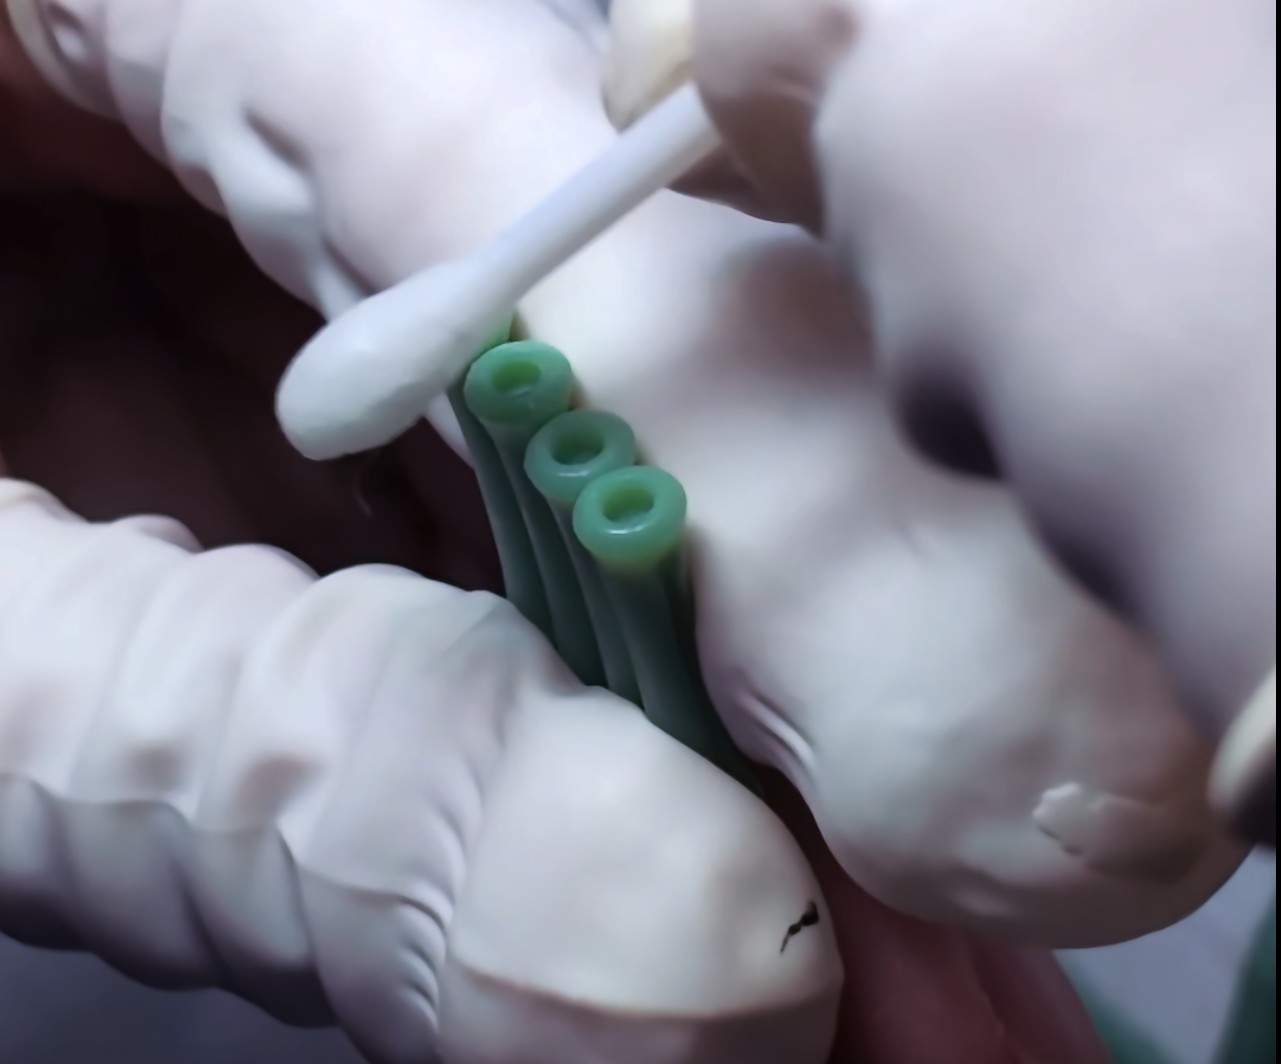
Figure 2 Detail of wax pattern arrangement and connection
Plaster Mold Making
After the wax tree is placed into the plaster cylinder, plaster slurry prepared according to process requirements is poured in. Only after the plaster slurry has fully set and undergone the necessary resting period can the plaster mold proceed to the burnout process. Pouring quality affects cavity integrity, so problems such as air bubbles and localized slurry shortages must be avoided.
Burnout Dewaxing
The plaster mold is burned out using staged temperature increases, so that the wax material is discharged and the mold reaches the state required for subsequent pouring. The example parameters in the original production records are a maximum of about 750 °C and a total duration of about 12–13 hours. The actual temperature curve and time should be determined according to the plaster material, mold size, furnace load, and product requirements; a single set of parameters cannot be applied to all products.
Melting and Pouring
Before pouring, material consumption needs to be calculated according to the order quantity, single-piece weight, and process loss, and batching must be completed according to product requirements. After burnout is completed, the mold and pouring are linked up according to the on-site process, and molten copper alloy is poured into the plaster mold. The melting temperature, mold temperature, and pouring method should all be set according to the specific alloy, equipment, and product structure.
Cleaning and Dismantling
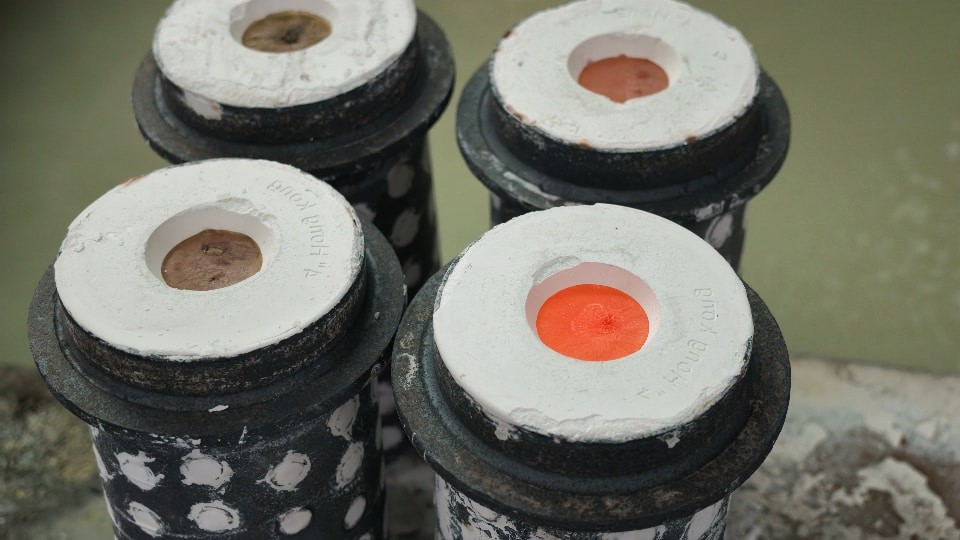
After pouring is completed and the mold has cooled to a state suitable for handling, the plaster is removed and the metal castings corresponding to the wax tree are dismantled to obtain blanks. At this point the blanks are still connected to the runners, and plaster may remain on the surface, which must be further treated in subsequent processes.
Sprue Cutting
The runners and sprues on the blanks can be removed by semi-automatic routing with manual assistance, or by fully automatic routing. Small batches or products with complex structures are usually more suitable for semi-automatic handling, which allows flexible adjustment; products with larger batches, a single style, and stable clamping conditions can be considered for fully automatic equipment. The specific choice also depends on cycle time, clamping difficulty, equipment capability, and cost accounting.
Barrel Polishing
After the sprues are cut off, barrel polishing can be carried out according to the surface condition and customer requirements. Different product sizes, materials, and target surface effects require different abrasive materials, grit sizes, and processing times. Improper parameter selection may result in insufficient polishing, loss of edges and corners, or dimensional changes.
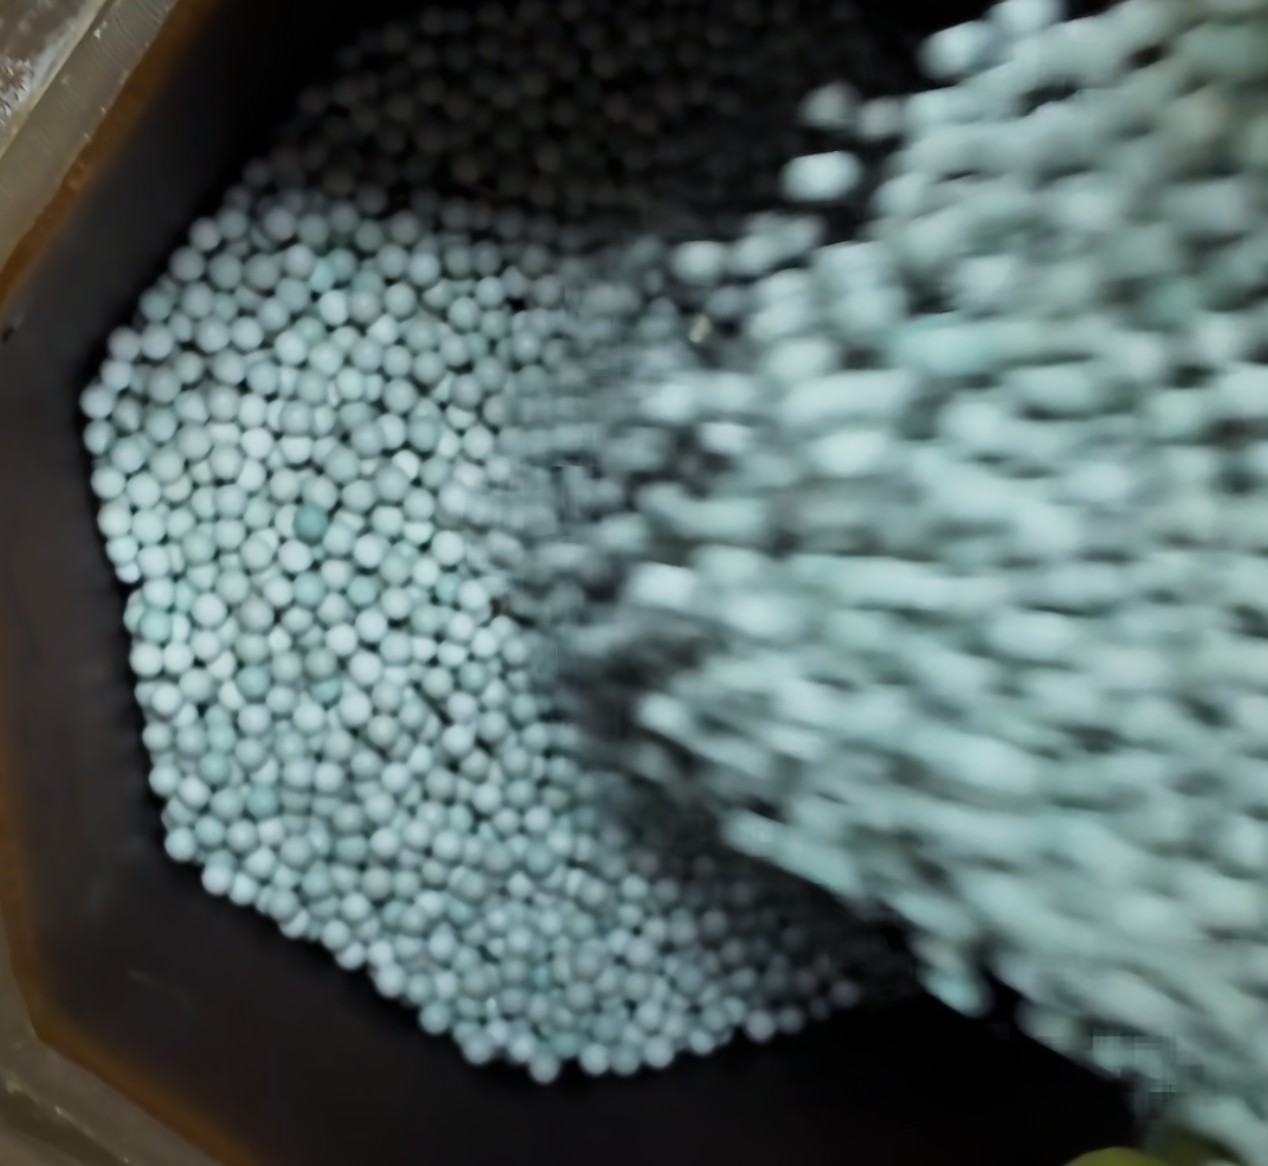
Figure 3 Grinding media operating inside the barrel
Finished-Product Inspection and Sampling Inspection
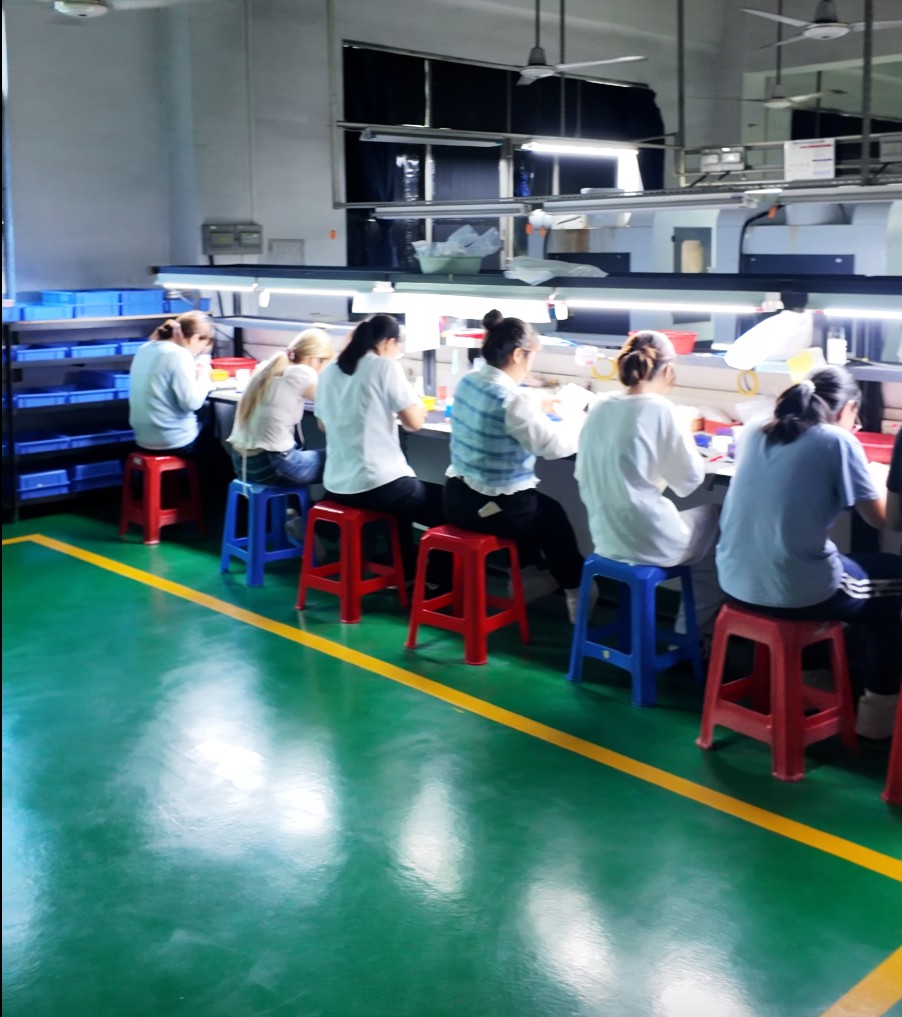
After polishing is completed, appearance and dimensional inspection is carried out first, focusing on scratches, flash, color differences, and key dimensions, and comparing them with the drawings and the confirmed sample. Sampling inspection is then carried out according to the agreed AQL sampling plan, and if necessary, samples are sent to the testing center for review. Full-process inspection can reduce the risk of nonconforming products escaping, but sampling results should still be judged in combination with product requirements, defect levels, and batch conditions.
Key Control Points
Stage
Possible Problems
Control Method
"Seed" production
Source data deviation
Measure item by item against drawings and customer samples, and have it reviewed by the testing center
Rubber mold
Unstable mold dimensions or part-removal effect
Trial-produce wax patterns and measure first; put into mass use only after verification passes
Wax injection
Short shots, deformation, or mold sticking
Adjust time, pressure, and cooling time according to the product; apply a thin layer of wax powder according to the on-site process
Wax pattern inspection
Defects flow into subsequent processes
Inspect and trim piece by piece; record and rework those that cannot be repaired
Wax tree assembly
Electrostatic adhesion or improper arrangement
Control spacing reasonably; adjust ambient humidity when necessary
Plaster mold making
Air bubbles, slurry shortage, or incomplete cavity
Control the plaster slurry state, pouring process, and setting time
Sprue cutting and polishing
Residual sprue, surface damage, or dimensional change
Select equipment according to structure and batch size, and match abrasives and processing time
Finished-product inspection
Appearance or dimensions not meeting requirements
Combine full inspection with sampling inspection, and compare against drawings, samples, and established acceptance requirements
The lost-wax casting process is not complicated, but the parameters and handling methods for each product may differ. Stable mass production depends on upfront data confirmation, trial-production verification, and in-process inspection, as well as on operators adjusting the process promptly according to product structure. This article describes the main process; specific temperatures, times, material ratios, and acceptance requirements should be based on the actual product and verified workshop parameters.